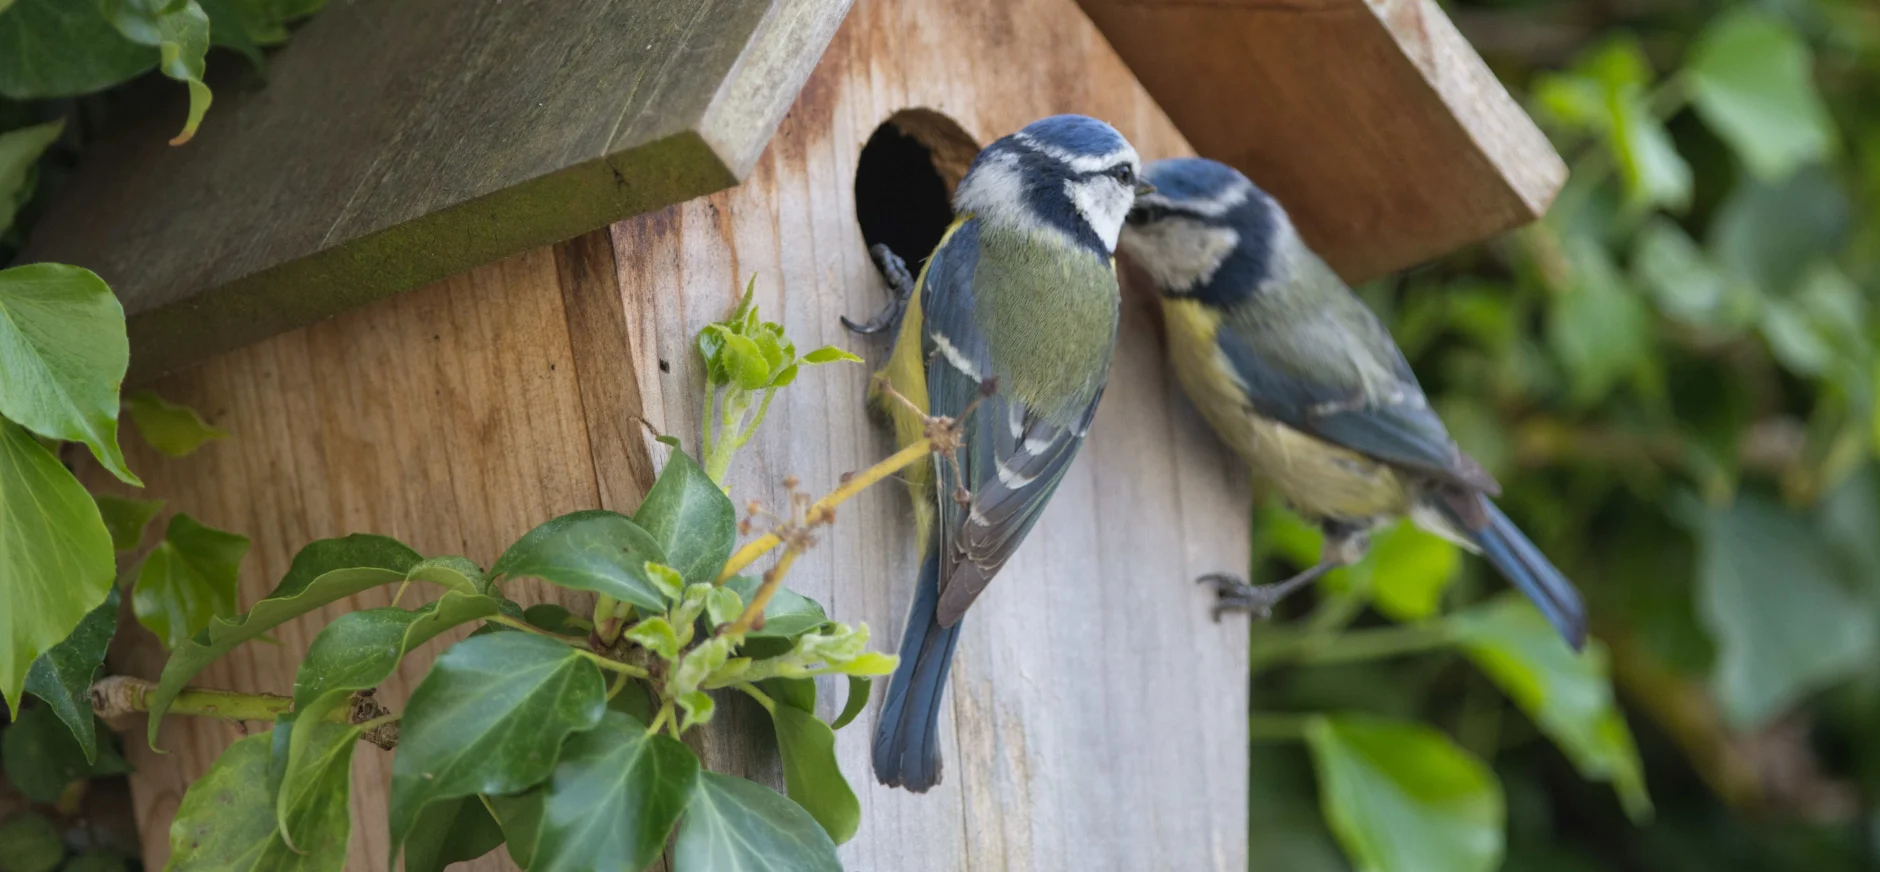
Bird boxes are a fantastic addition to any garden, big or small. Not only do they provide a safe and comfortable space for birds to nest, but they also help promote local wildlife and encourage biodiversity. While you could easily pick up a pre-fabricated bird box and save yourself the hassle, making one yourself is a fulfilling and enjoyable project.
Bird boxes are relatively quick and easy to build, whether you’re a DIY pro or a beginner tackling your first timber project. Crafting a bird box is not only highly rewarding but also offers the satisfaction of seeing the fruits of your labour year after year as it attracts a variety of birds and wildlife to your garden.
Read on to discover our simple step-by-step guide to building a timber bird box.
Step 1: Understanding Your Preferences
Before choosing the building materials for your birdhouse, it’s important to understand that there are no golden rules about making birdhouses. The materials and exact dimensions you choose may vary depending on the size of the birds you wish to accommodate.
Timber is a popular material choice as pieces can easily be cut to a sufficient thickness to provide adequate insulation. Rather than using treated timber, which can be harmful to birds and other animals, it’s crucial to opt for safe, untreated timber in your wildlife projects.
In our guide, we’re creating a small timber bird box that attracts common birds like bluetits and robins. But you can simply alter the dimensions to match the species you hope to attract.
Step 2: Gathering Your Building Materials and Tools
To build and assemble the birdbox, you’ll need the following:
Tools
- Measuring tape
- A pencil
- A drill (with a ¼ inch drill bit)
- A circular hole drillbit or a jigsaw
Building Materials
- A plank of timber (approximately 120 cm in length, 15 cm in width and 2 cm in thickness).
- 15 x 1 ½ inch screws
- 4 x 2-inch screws
- Wood chips
- A strip of roofing felt
Choosing Your Timber
The type of timber you choose for your wooden birdhouse is up to you. However, some types of timber, including pine, cedar and oak, are particularly suitable for wooden birdboxes due to their weathering resistance, insulation and durability. Timber can be purchased at your local sawmills, like us at Hales Sawmills, from one of our branches in Shrewsbury and Market Drayton.
Step 3: Cut out the Pieces
Once you have secured your timber and other building materials and tools, you can begin preparing each of your panels. Use the following dimensions to mark out all the pieces on your timber planks:
- Roof: 16.5 cm x 15.5 cm
- Front: 12.5 cm x 19 cm
- Back: 12.5 cm x 30.5 cm
- Floor: 12.5 cm x 11.5 cm
- Sides (2 panels): 15.5 cm (bottom) x 18.5 cm (edge 1) x 24 cm (edge 2)
When you have all the timber components marked out, use a saw to safely cut out the pieces. Make sure to sand the edges of the timber panels to ensure each piece fits together seamlessly and isn’t rough to the touch.
Step 4: Cut Entrance Holes
The size of the entrance hole is crucial when it comes to building a birdhouse. If you are interested in attracting smaller birds, such as blue tits and coal tits, it’s important to get the hole size right to keep out larger species like sparrows. We recommend a hole with a diameter of 1 ⅛ inches, which is ideal for smaller birds. Mark out the entrance hole approximately five inches from the bottom of the birdhouse. A circular drill bit is the best tool for the job as it can create a very small, precise circle.
Step 5: Create Drainage and Ventilation Holes
Adding drainage and ventilation holes is essential to keep your birdhouse comfortable. Start by drilling four ¼-inch drainage holes near each corner of the floor panel to allow any rainwater to drain out. Next, use a ¼-inch or ⅛-inch bit to drill two holes near the top edge of each side panel. These ventilation holes will let fresh air flow through the birdhouse, helping to prevent the birds from overheating.
Step 6: Assembling the Birdhouse Walls
Start assembling the birdhouse from the bottom. Begin by lining up the floor panel with the two side panels. Ensure that the edges of the floor panel align evenly with the sides, leaving a gap of ¾ inch on either side to accommodate the front and back panels. Secure the sides to the floor using three nails or screws for each side. Ensure the panels are flush and firmly attached to provide a sturdy base for the birdhouse.
Next, take the front and back panels and position them vertically against the floor panel, ensuring they fit snugly between the side panels. Screw or nail the front and back panels into the floor panel, checking that the edges align correctly and there are no gaps.
Step 7: Install the Birdhouse Roof
To make the birdhouse roof functional, it should be hinged so that it can be easily opened for cleaning and replacing the wood chips inside. A strip of roofing felt is ideal for this purpose because it is waterproof and adds an extra layer of insulation to protect the birds.
Start by cutting a strip of roofing felt that matches the width of the roof panel. Position the felt so it will act as a hinge, attaching one edge to the underside of the roof panel using nails. This will create a flexible hinge, allowing the roof to open.
Next, attach the roof panel to the birdhouse structure. Nail or screw the roof securely to the back panel of the birdhouse, ensuring it is properly aligned and covers the structure fully. Leave the front edge unattached, allowing the roof to open. You could add a small latch at the front to keep the roof closed when necessary.
Step 8: Find the Right Location
Choosing the right location for your birdhouse is key to attracting residents. Birdhouses can be placed on sturdy wooden posts that stick into the ground, offering a safe, elevated spot for birds. If you choose wooden posts to mount your birdhouse, ensure the nesting house is at least four feet high to prevent bugs and insects from making their home in the structure. Screw the back panel of the birdbox into the front of the wooden post using your two long screws for added sturdiness.
Alternatively, if your garden has trees, you can hang the birdhouse on the branches or trunk of a tree, ensuring it’s secure and sheltered. Aim for a quiet, sheltered spot away from strong winds, predators, and frequent human activity to create a safe haven for nesting birds.
Step 9: Add Wood Chips to the Birdhouse
To make your birdhouse feel more natural, like a freshly dug cavity, add a layer of wood chips to the bottom of the nesting box. This will create a cosy, familiar environment that helps birds feel more comfortable and at home.
Hales Sawmills
At Hales Sawmills, we’re proud to be a trusted supplier of high-quality timber and building materials, offering a wide range of products for both DIY enthusiasts and professional builders. Whether you’re looking for timber for construction projects or wooden posts for fencing, we provide premium materials sourced sustainably to ensure durability and strength.
We also offer ready-made timber nesting boxes, perfect for attracting wildlife to your garden, as well as everything you need to create your own bird box from scratch. From rough-sawn timber to treated wood and essential building materials, we have all the supplies you need to bring your outdoor projects to life.
Our expert knowledge and commitment to quality make us the go-to supplier for timber products, whether you’re building a shed, constructing a fence, or creating a safe haven for local birds. Explore our extensive range of timber solutions online or get in touch to discuss any requests for bespoke timber pieces.